


- Step-by-step method of disassembling the power supply from an Asus laptop
- Instruments
- Two parts
- General algorithm
- Custom form
- Disconnects
- Force application
Video tutorial disassembling and assembling a laptop power supply unit
Step-by-step method of disassembling the power supply from an Asus laptop
Many of us faced such a problem as the lack of a charging process on a laptop. This may be caused by different factors. First, a broken nest on the device itself may lead to this, second, interruptions on the cable that goes to the power supply, and third, a broken cord at the junction with the power supply. In this article we will touch on the third most common case - broken wires, thus keeping you from another trip to the service or unjustified purchase of a new power supply because of such trifles.
Attention!!! To replace the cord, you must first disassemble the unit itself, as a rule, they are non-separable. If you do not have the time, desire or skill in such procedures, it is better to contact the specialists for whom repairing Asus laptops is a fairly easy and quick process.
So, to open the power supply, we need:
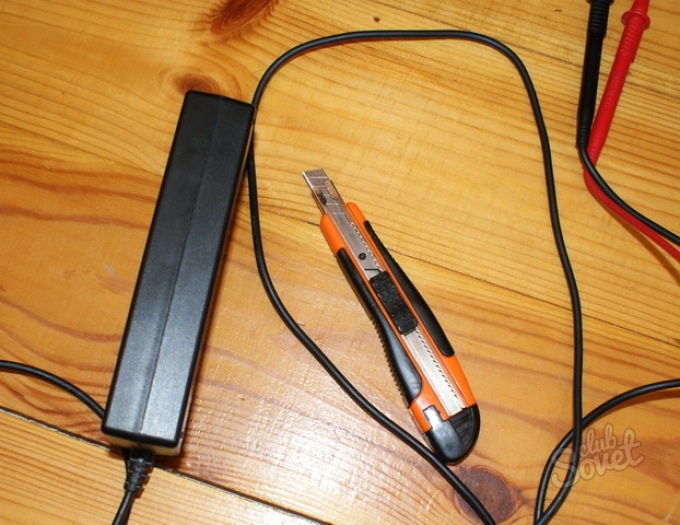
- A knife (or something similar, with a thin, but not sharp enough, blade, so as not to damage the unit itself);
- Hammer;
- Napkin (all that can be put under the unit, even if it is a newspaper or a sheet of paper);
- Superglue and syringe;
Let's start:
- First you need to put the power supply on any side on a napkin / rag, in order not to scratch the surface on which we will work.
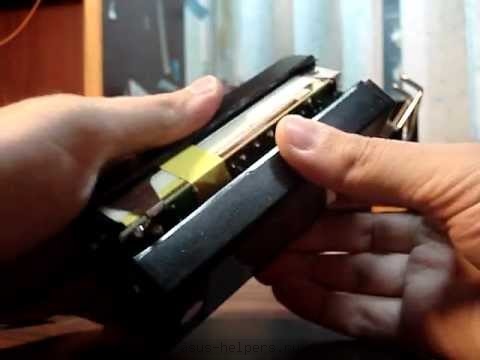
- Next you need to insert the knife into the groove, which divides the block in half, just not on the very edge, but a little further from the edge, because you can damage or break the corner.
- Gently beat the knife on the knife, not so much to break the block (we need to disassemble, otherwise it could be done at one point with a hammer), but also not so weak because we need the knife to bend the side of the power supply unit a little, after in this place he will disperse.
- Do the same, first on the other wide side and then on the two remaining narrow ones. If the block does not open completely, then repeat the same action. In this way we open it, which was necessary.
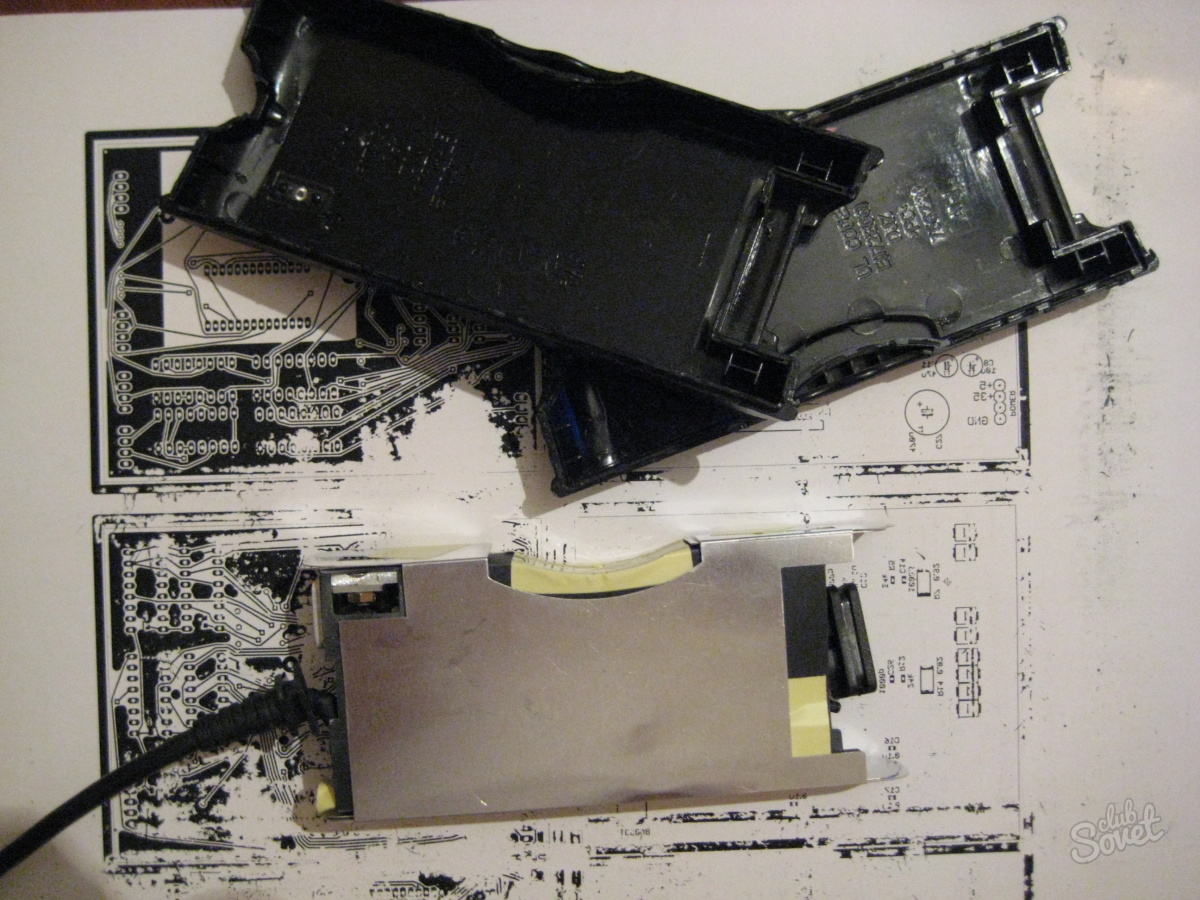
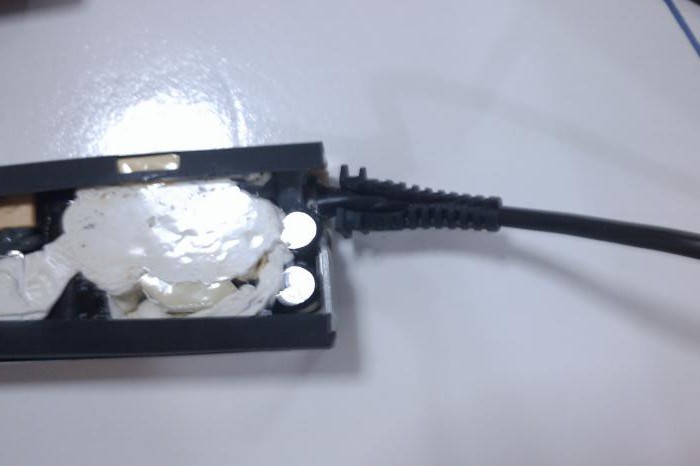
- To replace the wire, you must first peel off the circuits from one of the halves of the block, carefully hooking it with a knife, to which they can be glued, then remove the aluminum wrap from the circuits, it can be glued with adhesive tape.
- Next you need to solder the two wires of the old cord from the circuits and solder in the same manner new ones with a working wire.
- We assemble the power supply unit in the reverse order; we preliminarily apply glue to one of the grooves on the plastic case of the power supply unit using a syringe or a long glue spout.

Everything, thus, we independently disassembled and assembled the power supply unit from the laptop, using only available means. While completely dispensed with someone's help. We hope this article will be useful.
A laptop power supply is usually an external device. Moreover, there is no single standard, so each laptop manufacturer “creates” the design of the power supply unit at its own discretion. All components this device well bonded and are a monoblock, which, at first glance, to disassemble yourself is very difficult. However, nothing is impossible.
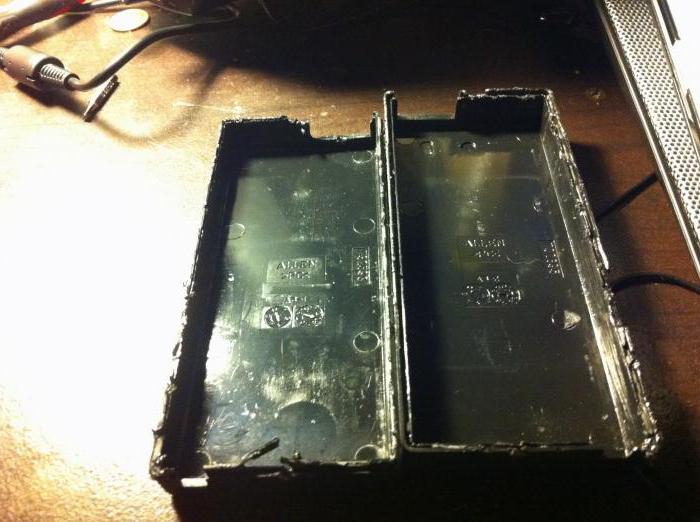
Most often you have to disassemble the power supply in case you need to replace the damaged cord. We take the block and a sharp thin knife or scalpel. We lay the device on its side and gently insert our cutting tool into the seam groove charger stepping back from a corner of about 5 millimeters. This will prevent damage to the mountings. Lightly tapping on a knife or scalpel with a hammer, carefully cut the plastic along the seam. In this case, the blade should come into contact with the plastic, not the entire surface, but about 15-30 millimeters. We do not beat hard so that the side is slightly bent and sold, but it does not break. So we “treat” the seam - first along the long sides, then along the short ones. It is allowed to repeat the procedure if it was not possible to open the block the first time. It is worth noting that for many laptops, power supply units are very difficult to open. So, the chargers of Dell, Asus, Hp, Acer and others are poorly amenable to “opening”. But Macbook power supplies open in this way quite well, although after the procedure appearance and suffer.
After you have opened the unit to find the fault, you should remove the aluminum and plastic wrappers. Usually they are held on scotch tape or soldered, as an option - glued with resin, attached with several screws.
Next, check the voltage at the output of the board. He is OK? So, we are looking for the problem further. If you need to replace the wire, then for starters we unpin the old one. Usually it is 2-3 contacts. Then in the same order we solder a new one.

We assemble the power supply in the same manner as it was taken apart. It is not necessary to glue the wrappers. Use a medical syringe to apply a thin layer of glue in the groove of the seam of one of the halves of the charger and fold both parts together. For reliability, you can put the unit under the load at the time of drying. The device is ready to work!
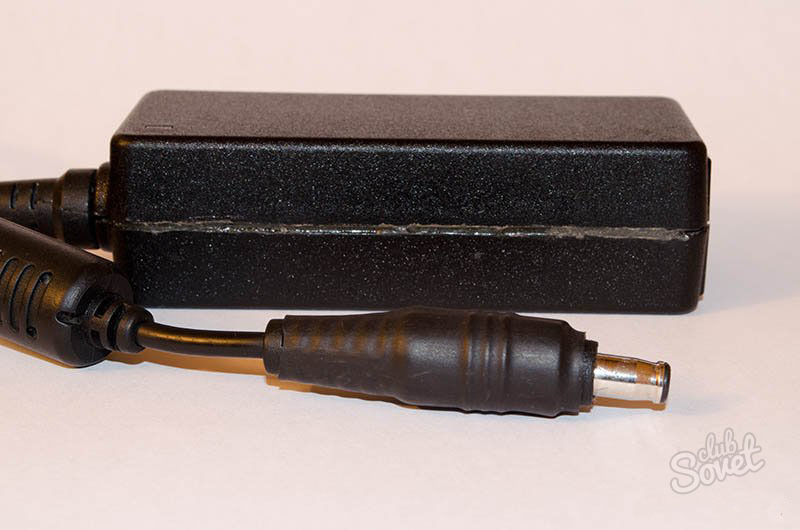
It should be noted that notebook power supply units are not designed for self-repair, however, with a professional approach, the device will not suffer and will continue to function. If you carried out the disassembly neatly and just as accurately folded the device back, the appearance will not change.
This element will be described below. Drops, power surges and more make such devices useless.
Instruments
Consider how you can independently repair the laptop power supply. How to disassemble this element is the first question to be solved. In most cases, to achieve the desired result, inexpensive parts will be required, as well as soldering equipment. The question of how to disassemble the power supply unit of a laptop is complicated by the fact that there are often no screws, bolts or fasteners on its case. However, this design only seems to be monolithic. On the side faces there is a narrow seam that covers the entire perimeter.
Two parts
So, now we know the main feature that has a laptop power supply. How to disassemble it is now much easier to understand. The above seam may be different in thickness. Often it is covered on top by a manufacturer's sticker. Next we have to cut. You can not fear for the internal elements, since they are covered with a metal casing. It provides radiation shielding and electronic content protection. However, in spite of the defense, the autopsy actions are carried out with special care.
General algorithm
 The main difference between the individual methods of disassembly is reduced to different aesthetic approaches to the process. You can also use a different tool. In any case, the body must be divided along the seam line. There are two main approaches. You can disconnect the device with effort or cut it. In most models, the halves are glued together. And not very durable. Can also be applied assembly "groove-ledge". She, too, as a rule, is complemented by gluing. To cut the block body, use any tool with a particularly thin blade. A scalpel or a knife is fine. Apply impact force. We put the blade directly on the line of the seam itself, lightly beat it with a small hammer. We try to intuitively feel the force with which to strike in order to pierce the plastic cover and not damage the metal under it. We get a cut that is equal to several centimeters. We transfer the blade to its beginning. The result should be a continuous line. “Cutting” with a knife is dangerous for fingers, but for some people this approach is more common. If we have a diverse arsenal of tools at our disposal, we will be able to cut the body with greater security and speed. For example, significantly facilitate the process will allow the nozzle-disk on the drill. In this case, the whole procedure takes a couple of minutes. The cut will be relatively even. However, in this case it is important to carefully control the depth of immersion of the disk. Significantly increases the risk of damaging the metal. There is another way to disassemble. Let's try it out. We need to separate the individual halves of the body. So, we make a small incision along the seam. Insert the tip of the screwdriver into it. Further we carry out several easy turns to turn it into a lever. Most often, the glue that holds the plastic easily lends itself. As a result, the gap is growing. After one side is released, take up the hull with your own hands. This approach greatly speeds up the process. Further, in the lower and upper halves of the body, closer to the corner, we drill through the usual drill of a small hole size so that it becomes possible to use pliers. We divorce pens. The seam diverges. Use a knife or a flat screwdriver to help it disappear altogether. If the body can not leave marks, you can go the other way. Cut off the cable through which the laptop should be charged. In the resulting hole, use the previously tested lever. Now you know what features a laptop power supply has. How to disassemble this device, we have described in detail above.
Custom form
 Let's look at how to disassemble the power supply laptop asus . For example, take the Eee PC device. The action algorithm begins with a search for a stub. Next, remove it. After that, unscrew the bolt. Armed with a scalpel, separate the side of the side of the fork. Lightly tapping at the junction is engaged in extracting the top of the power supply. Pre-pass through the joints, as they are also glued. We unsolder the cable. Separate the cable docking pliers with wire cutters. We drill the remains of the wire out of it.
Disconnects
 Now consider how to disassemble the power supply Lenovo notebook . Typically, the owners of these devices are faced with a situation in which a laptop computer suddenly stops receiving power from the network. Take a flat screwdriver and share the contour. Almost all stages coincide with the universal algorithm described at the beginning of this material. The special features include the fact that the structure is bonded with glue. For greater process efficiency, you can use not a screwdriver, but a screwdriver with a nozzle.
Force application
 Now consider how to disassemble the power supply laptop acer . These devices are particularly durable, so to get access to their internal elements is best to use a durable knife and hammer. The remaining steps are similar to those described in universal instructions above.
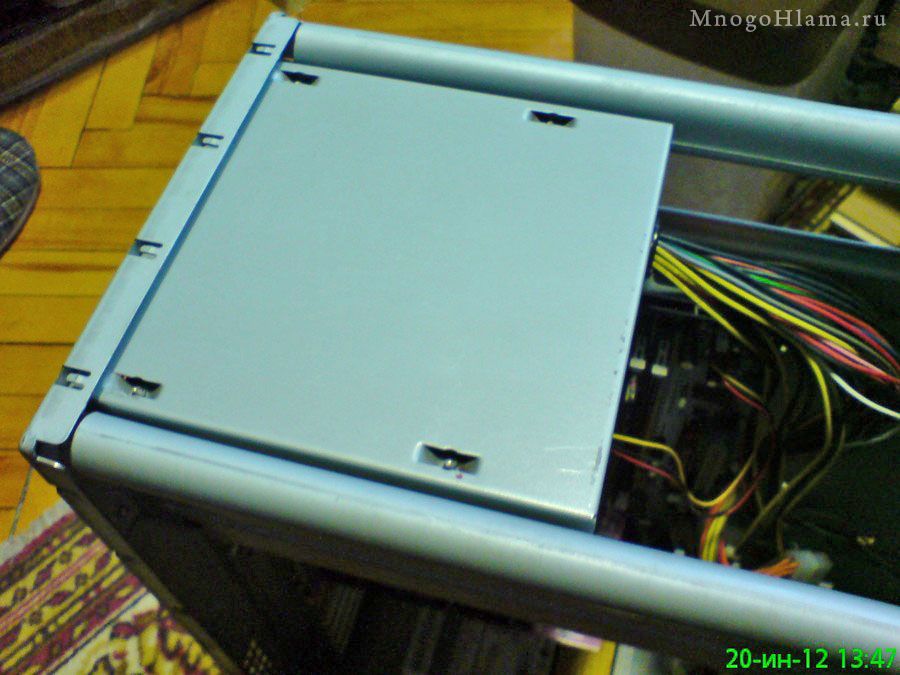
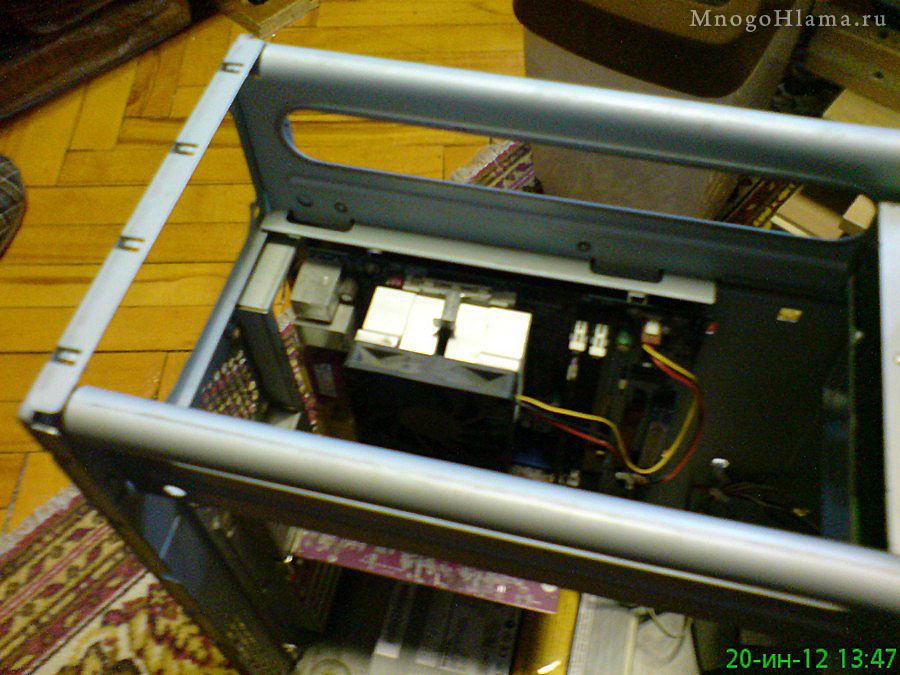
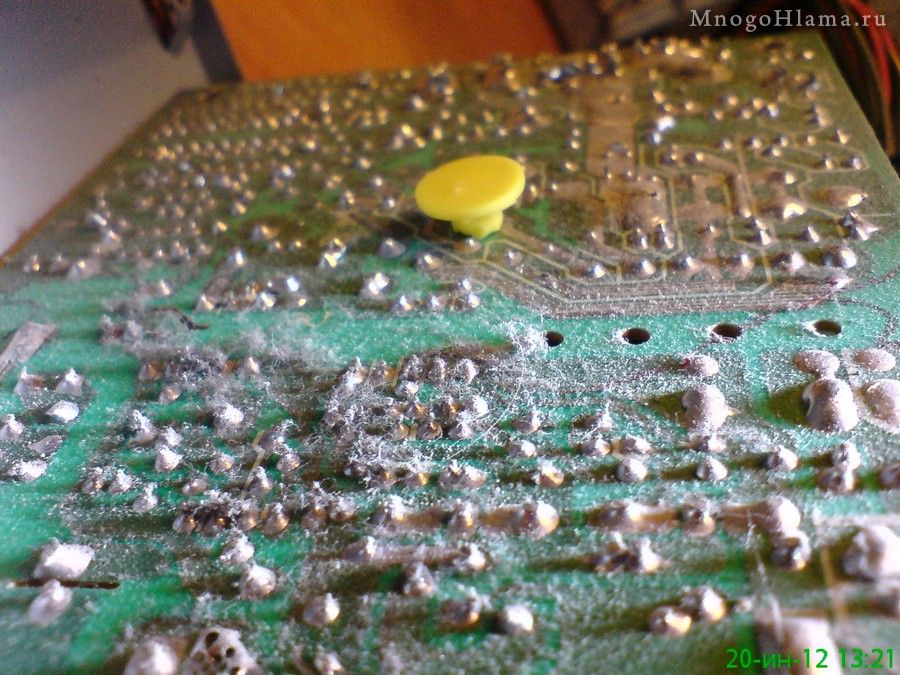
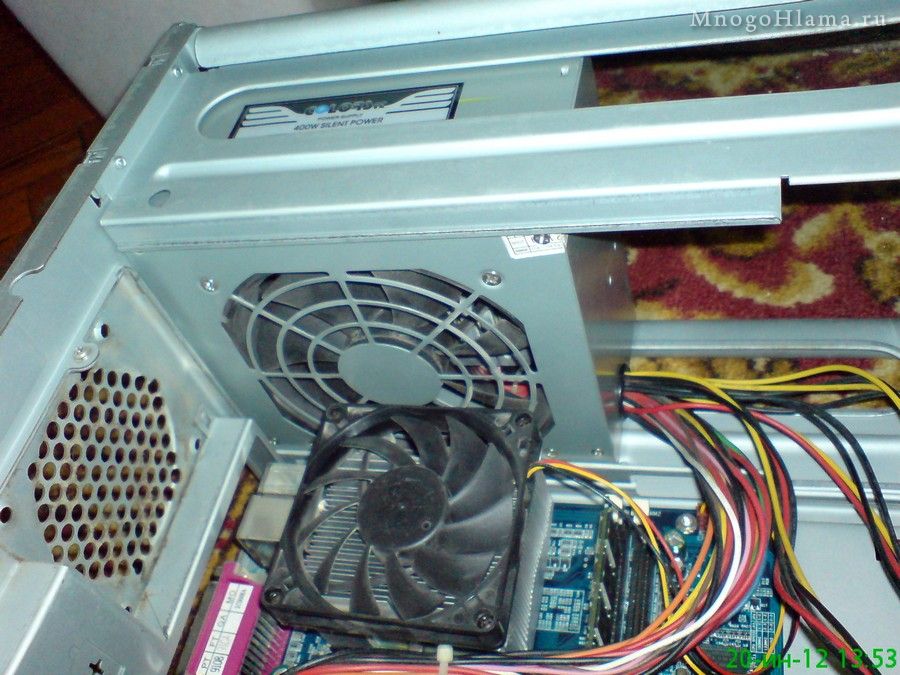
If your computer suddenly began to randomly go into reboot or shut down, then one of the reasons for this may be overheating, it also says that it is time to start spring cleaning in the system unit. There is nothing difficult in this, we disassemble the case, usually for this you need to unscrew a couple of screws from the back of the system unit, then remove the side cover, in my case it is enough to just lift the two valves on the sides and the cover will be removed entirely, leaving only the frame with offal . Then we clean with a brush and at the same time vacuum everything that is covered with dust.
Do not forget about the power supply, if the radiators of the processor and the video card can still be cleaned without removing and removing fans from them, then the power supply must be removed and disassembled. Of course, it is possible to clean the unit formally by blowing it with compressed air and without disassembling it. But the ideal option would be, still disassemble it and how to clean it.
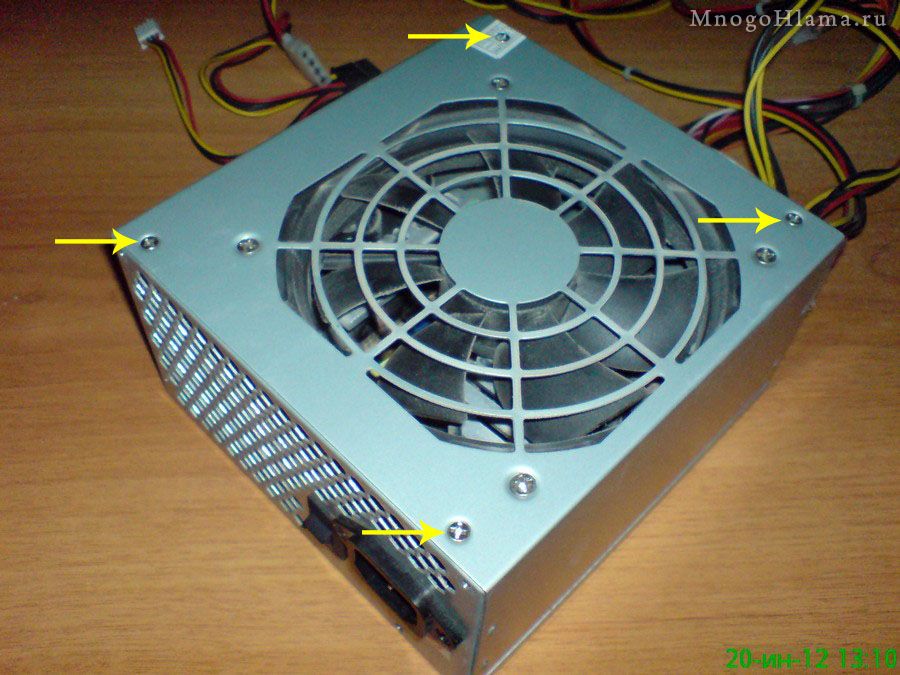
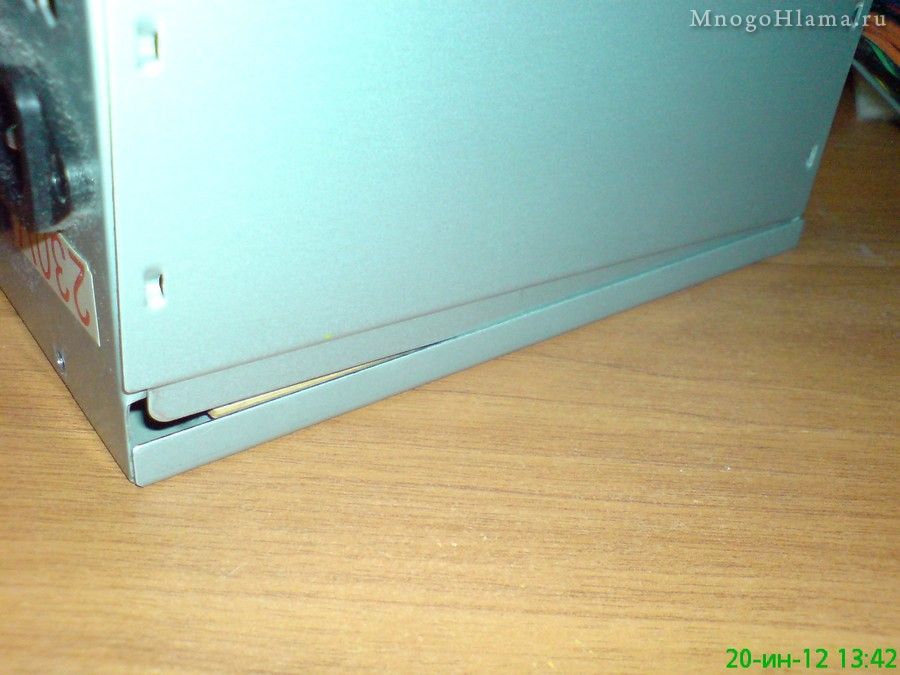
To do this, disconnect all power supply connectors inside the system unit and outside (from the socket) :-) then unscrew the four screws with which it is screwed to the case.
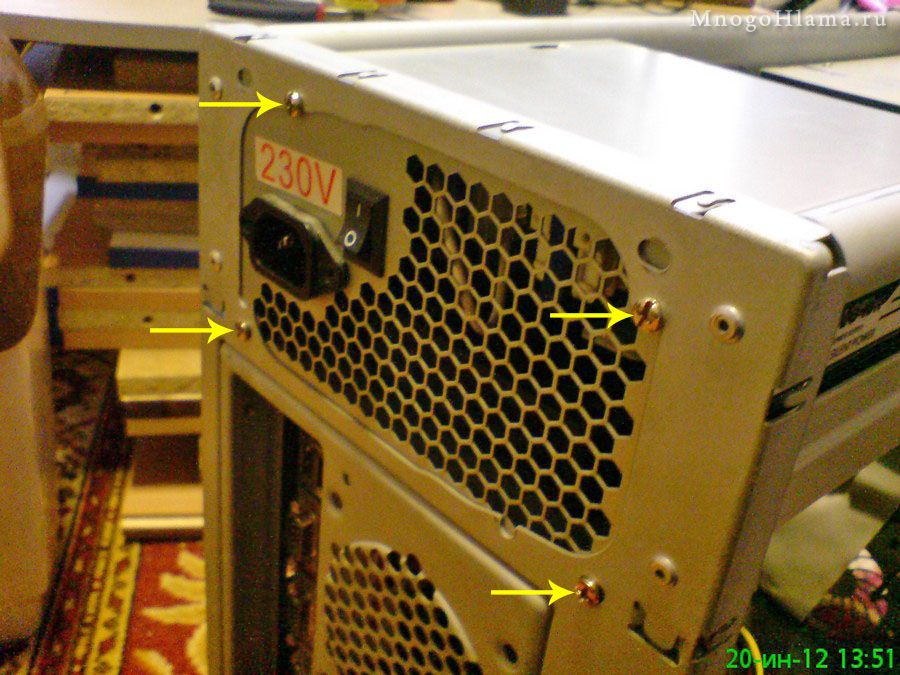
Now the power supply can be removed from the case.
Turn off these screws.
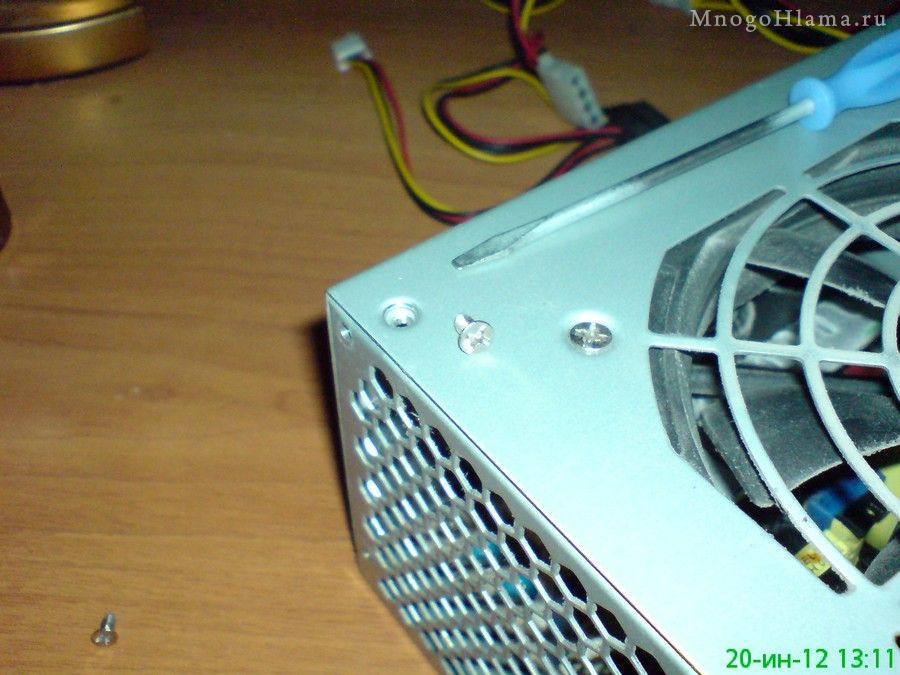
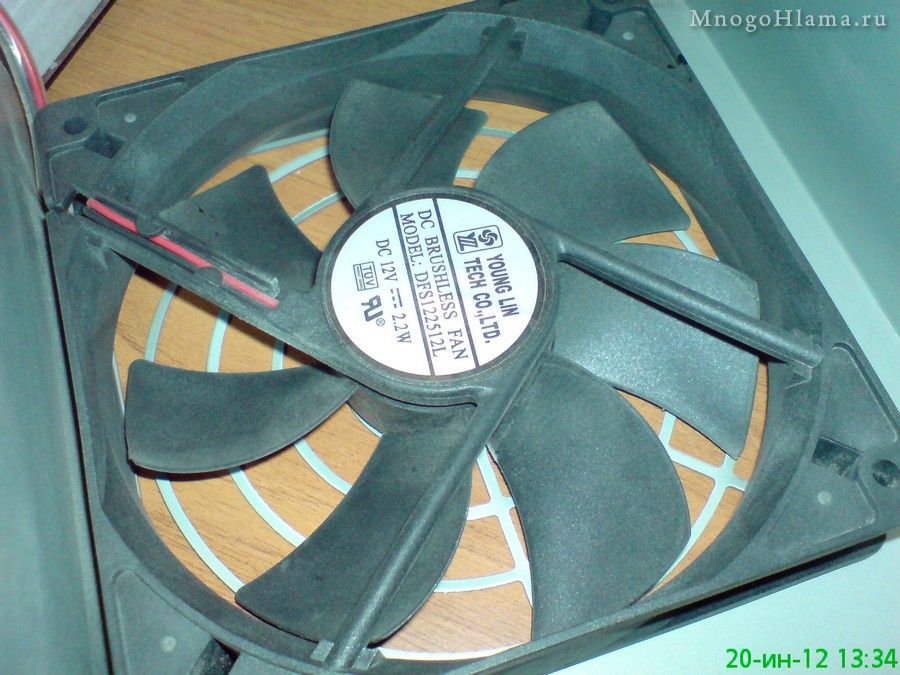
Remove the cover with a fan.
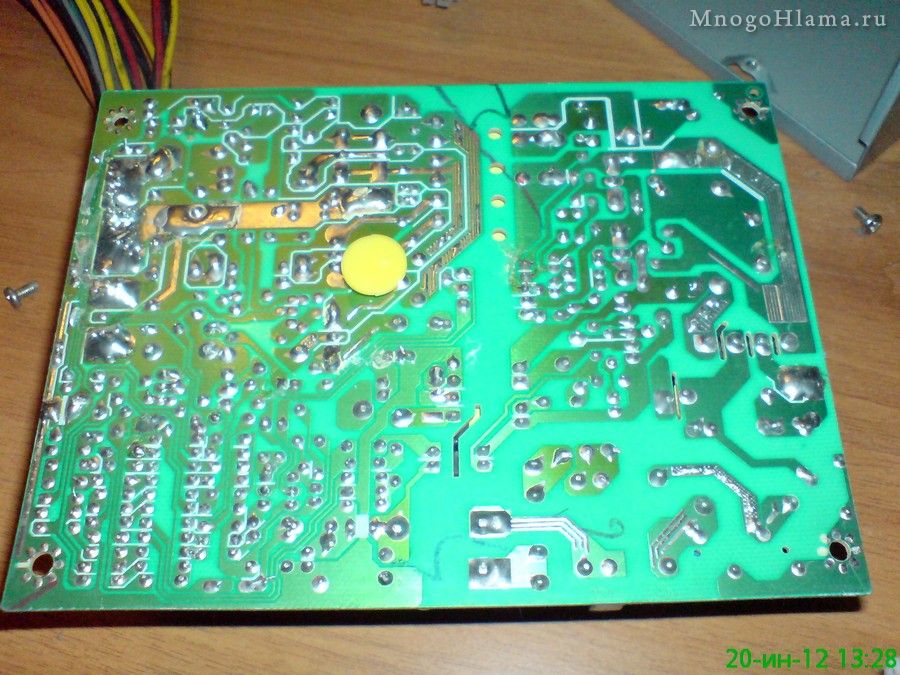
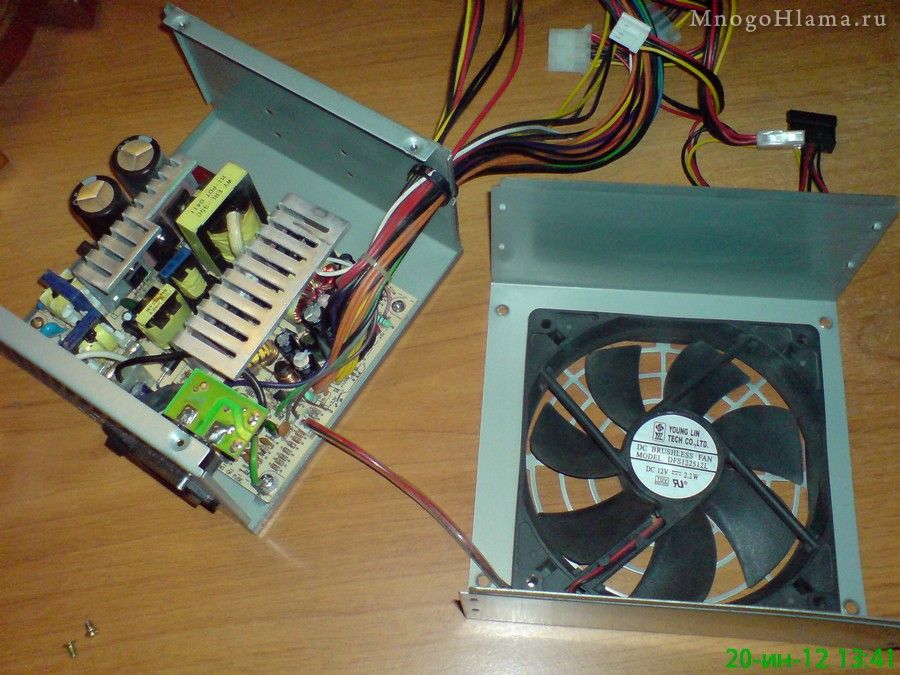
We release the cable from the case, disconnect the two connectors from the board, unscrew the four screws with which the board is screwed to the case, one of them will pull the ground wire.
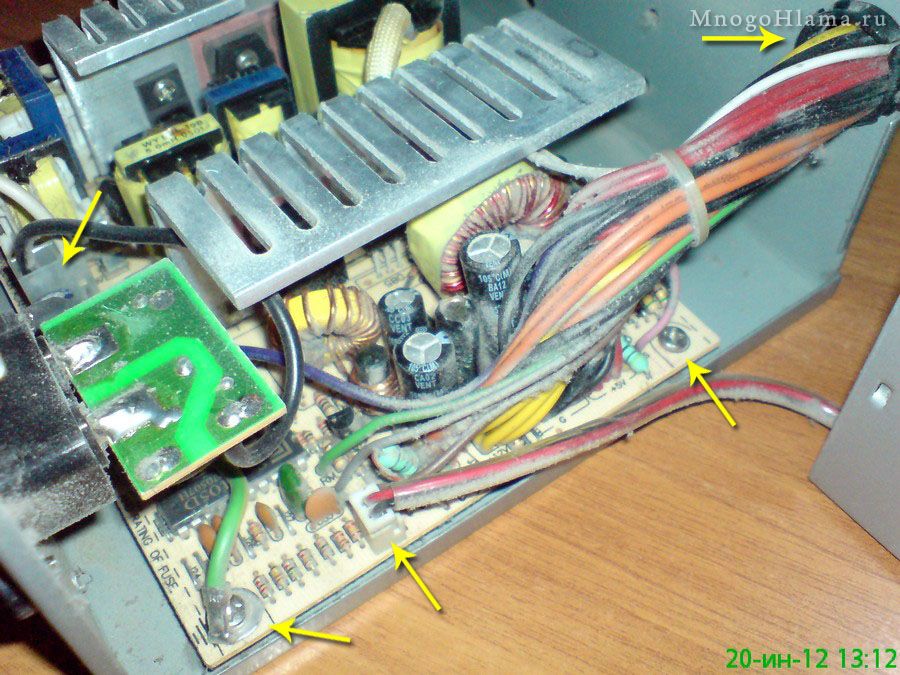
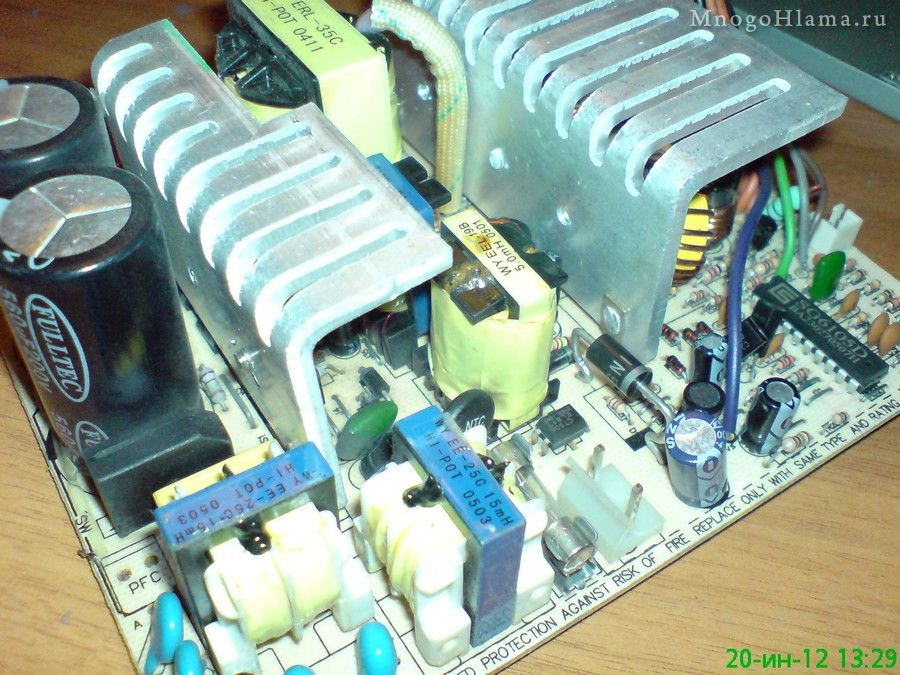
Now you can freely remove the board and clean it from all sides.


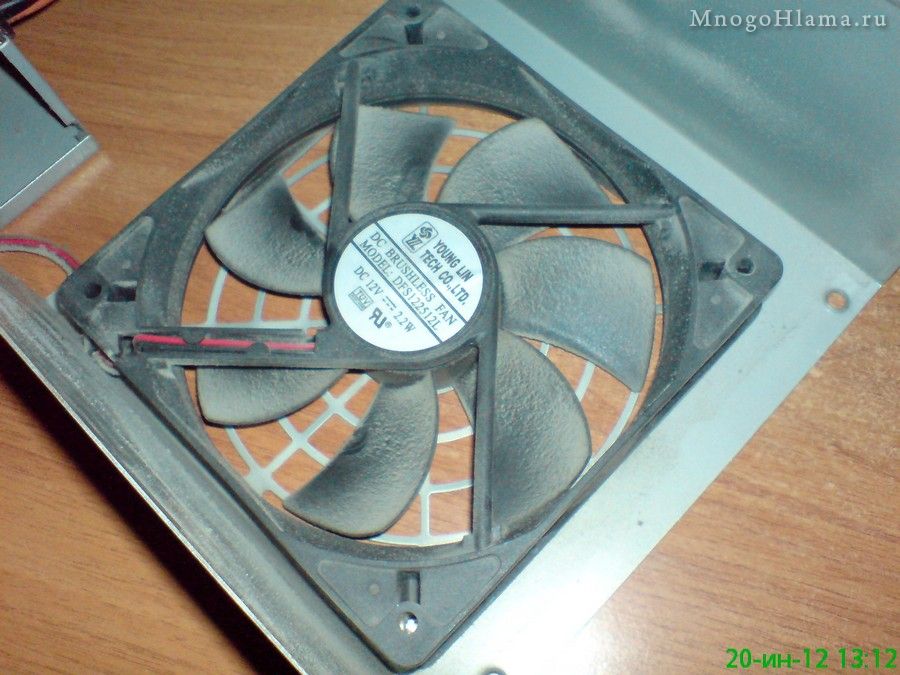
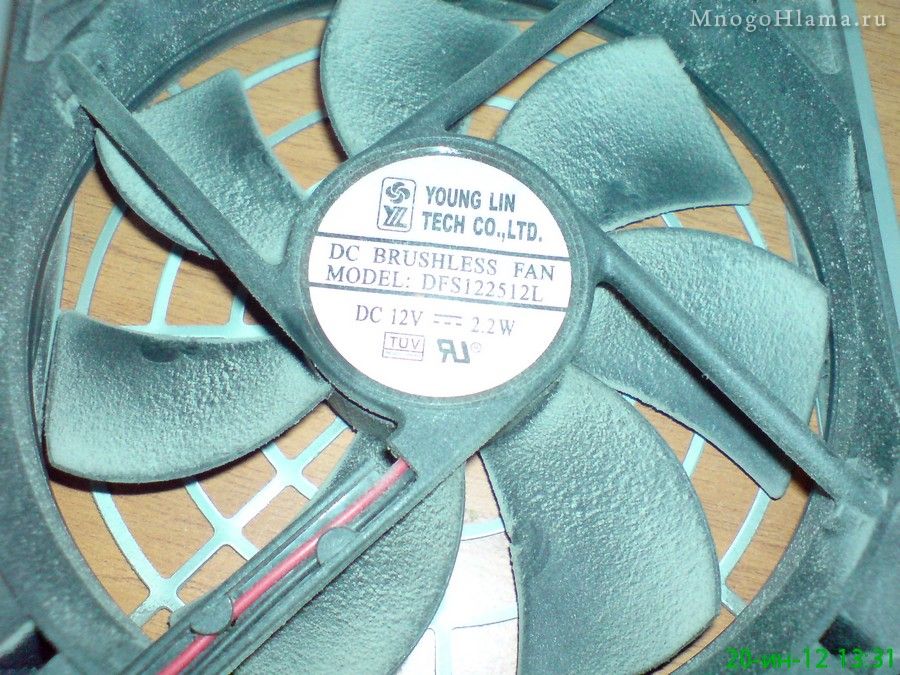
We clean the fan, try not to touch the blades themselves with your fingers, dust sticks to the greasy blades faster. Generally, whatever you’re cleaning in the computer, try to touch it as little as possible with your hands. If your unit is more than two years old, you can remove the sticker, remove the cork and put a couple of drops of engine oil on the fan bearing. If it is so old that the fan is not just making noise, but jingling or even knocking, then it is better to change it to a new one.
With cleaning everything, we collect in the reverse order.
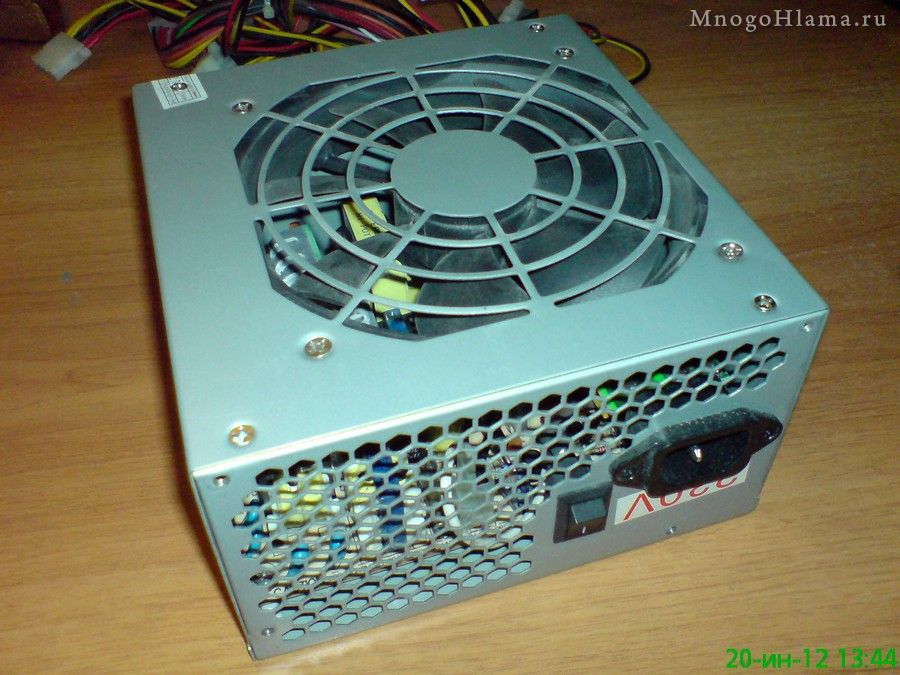
We put the unit back into the case, connect its conductors back to consumers.
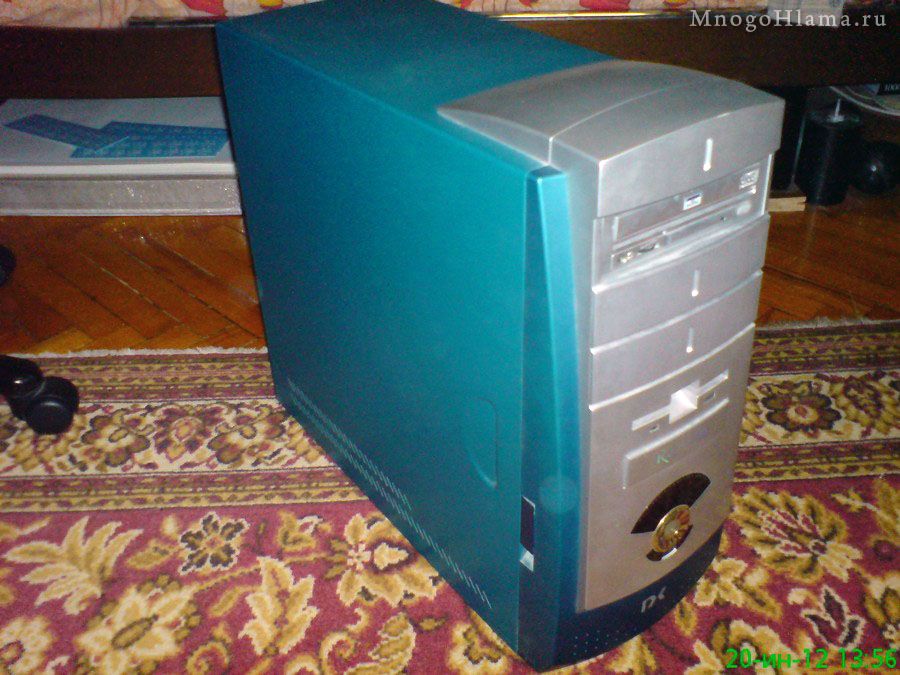
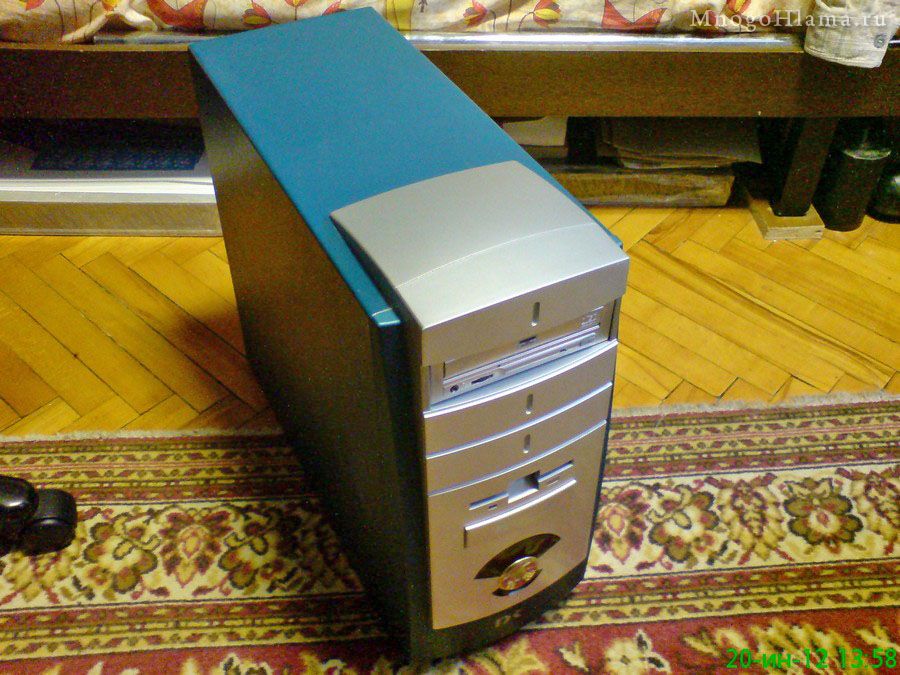
The block can be said to be still clean, it's just buggy, so I decided to disassemble it, see what it was, well, and along the way I made this Temko. In general, computer power supplies are different in design and content, but using the example of this standard unit it will be easier for you to disassemble yours.
A little advice on the example of another computer, how to postpone a complete disassembly of a computer for cleaning. You just need to install filters in the form of pieces of mosquito nets on the suction fans, if not, then on the largest inlets. This is if the body design allows you to do this, otherwise it will look ugly.
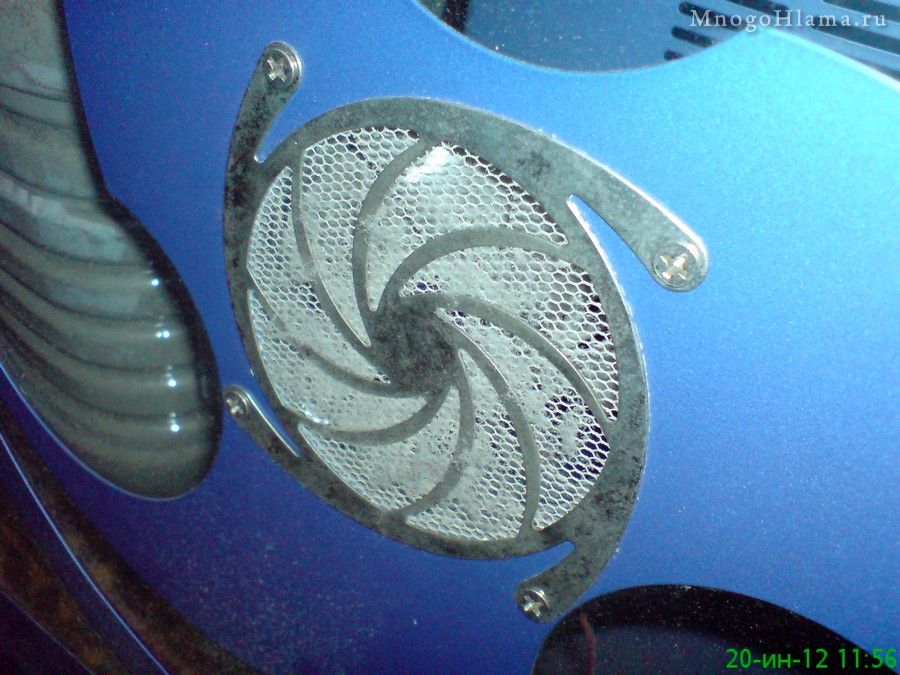
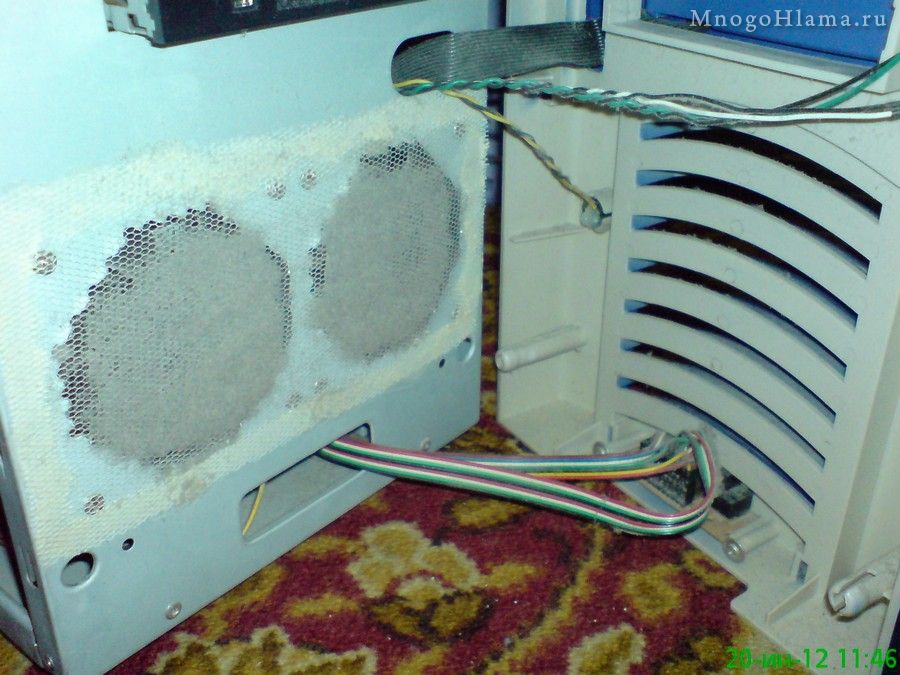
Previously, without these grids, it was necessary every six months to disassemble the system engineer and mess around with all the radiators. Now every 3-4 months I open the front cover and with a brush or a vacuum cleaner I remove the accumulated dust from the grid, well, from the grid of the side fan. By the way, the grid on the side cover is clearly visible when it is necessary to clean the front grids, it serves as an indicator of pollution. And only once every 2-3 years I disassemble it to the full for cleaning coolers, etc.
He is OK?